
The Anatomy of a Bank Statement

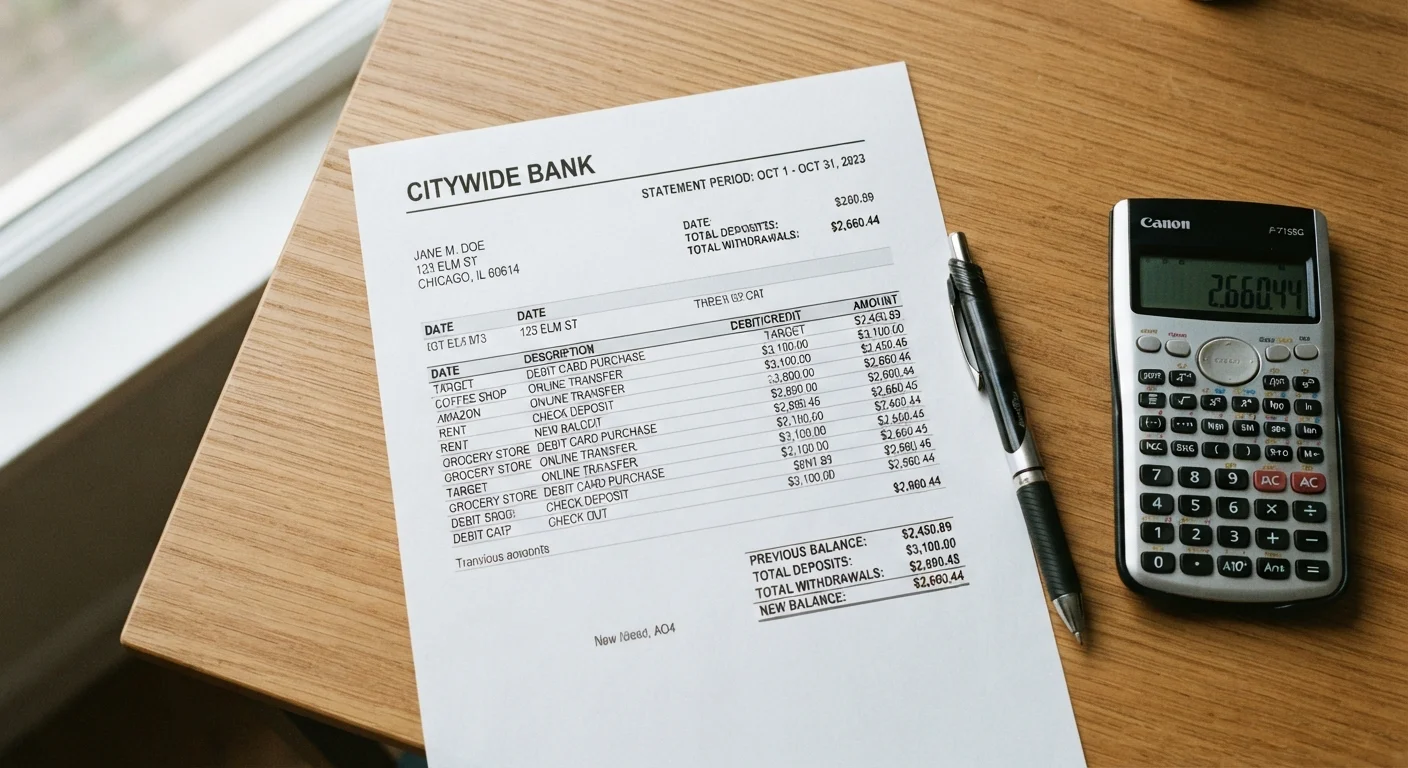
Photo: InsightsVilla.com | Quick Search. Right Info editorial
Key Takeaways
- Every bank statement has standard sections: account summary, transaction history, fees, and interest.
- Your opening and closing balances should reconcile exactly with every listed transaction.
- Reviewing statements monthly helps you catch bank errors, unauthorized charges, and fee creep.
- The transaction description column often includes codes or abbreviations - knowing what they mean saves confusion.
- Most banks give you 60 days to dispute errors on a statement; act quickly if something looks wrong.
What a Bank Statement Actually Contains
A bank statement is a monthly (or sometimes quarterly) record your bank produces showing every account activity during a defined period. Most people glance at the ending balance and move on. But there's a lot more useful information packed into that document - and learning to read it is one of the simplest things you can do to stay on top of your finances.
Statements follow a fairly consistent layout across U.S. banks, whether you're viewing a PDF download or a paper copy. They're organized into a few major zones:
- Account summary - a snapshot at the top showing your account number (usually partially masked), the statement period, your opening balance, and your closing balance.
- Transaction history - a line-by-line record of every deposit, withdrawal, purchase, and transfer during the period.
- Fees and charges - a breakdown of any monthly maintenance fees, overdraft fees, or service charges applied to the account.
- Interest earned - if you hold a savings account or interest-bearing checking account, this section shows how much interest was credited and at what rate.
If any of the terminology feels unfamiliar, our banking terms glossary covers common words like ACH, routing number, and overdraft in plain English.
What you will need
How to Read Your Statement Section by Section
Walking through a statement methodically takes less than 15 minutes and quickly becomes second nature. Follow these steps each month.
Confirm the account information and statement period
At the very top of the statement you'll find your name, mailing address, account number (partially hidden for security), and the statement period - for example, June 1-June 30. Confirm this matches the account you intended to review. If you have multiple accounts, it's easy to accidentally review the wrong one.
Check the opening and closing balances
The opening balance is what was in your account at the start of the period. The closing balance is what remained at the end. Every transaction in between should mathematically connect those two numbers. If you add up all deposits and subtract all withdrawals and fees, you should arrive at the closing balance. This is called reconciling your account.
Review every transaction in the history section
The transaction history lists each entry with a date, a description, and a dollar amount. Deposits and credits are typically shown as positive; withdrawals, purchases, and debits as negative. Look at each line and ask: do I recognize this? Common entries include direct deposits, debit card purchases, ATM withdrawals, ACH transfers, and automatic bill payments.
Identify any fees charged
Banks are required to disclose fees on your statement. Look for a dedicated fees section or scan transaction descriptions for terms like monthly service fee, overdraft fee, or out-of-network ATM fee. Add them up. Recurring fees you've forgotten about - or fees that were supposed to be waived - can quietly drain an account over time. For ways to structure accounts to minimize this, see our article on building a simple banking setup.
Note any interest earned
If your account earns interest, the statement will show the interest credited, the annual percentage yield (APY), and sometimes the average daily balance used to calculate it. Even if the amount is small, this confirms your account is functioning as expected and gives you a baseline to compare over time.
Set a Monthly Statement Review Habit
What to Do If Something Looks Wrong
Errors on bank statements are not common, but they do happen - and so does unauthorized account activity. Federal Regulation E gives consumers protections around electronic fund transfers, but timing matters. Most banks require you to report a problem within 60 days of the statement date to qualify for full liability protection.
Act Within the Dispute Window
If you spot a transaction you don't recognize, don't assume it's fraud right away. Check these possibilities first:
- A merchant name that displays differently than the store name (e.g., a parent company name instead of the brand you recognize)
- A subscription you forgot about
- A recurring transfer you set up previously
If none of those explain it, contact your bank's customer service directly. Keep notes of who you spoke with and when. For a broader picture of how financial institutions track your borrowing history separately from your account activity, see our walkthrough on what credit reports contain.
Reviewing statements also feeds directly into budgeting. The transaction history is essentially a spending log already organized by date - a useful starting point for anyone building a budget. The Budgeting Basics hub has simple frameworks for putting that data to work.
This article is for general informational and educational purposes only. It is not financial, legal, or tax advice. For questions specific to your account or a disputed transaction, contact your bank or a qualified financial professional.
The content on this site is for informational purposes only and is not a substitute for professional advice. Always consult a qualified professional for guidance specific to your situation.