
Before You Switch Banks: A Checklist to Make the Move Cleanly

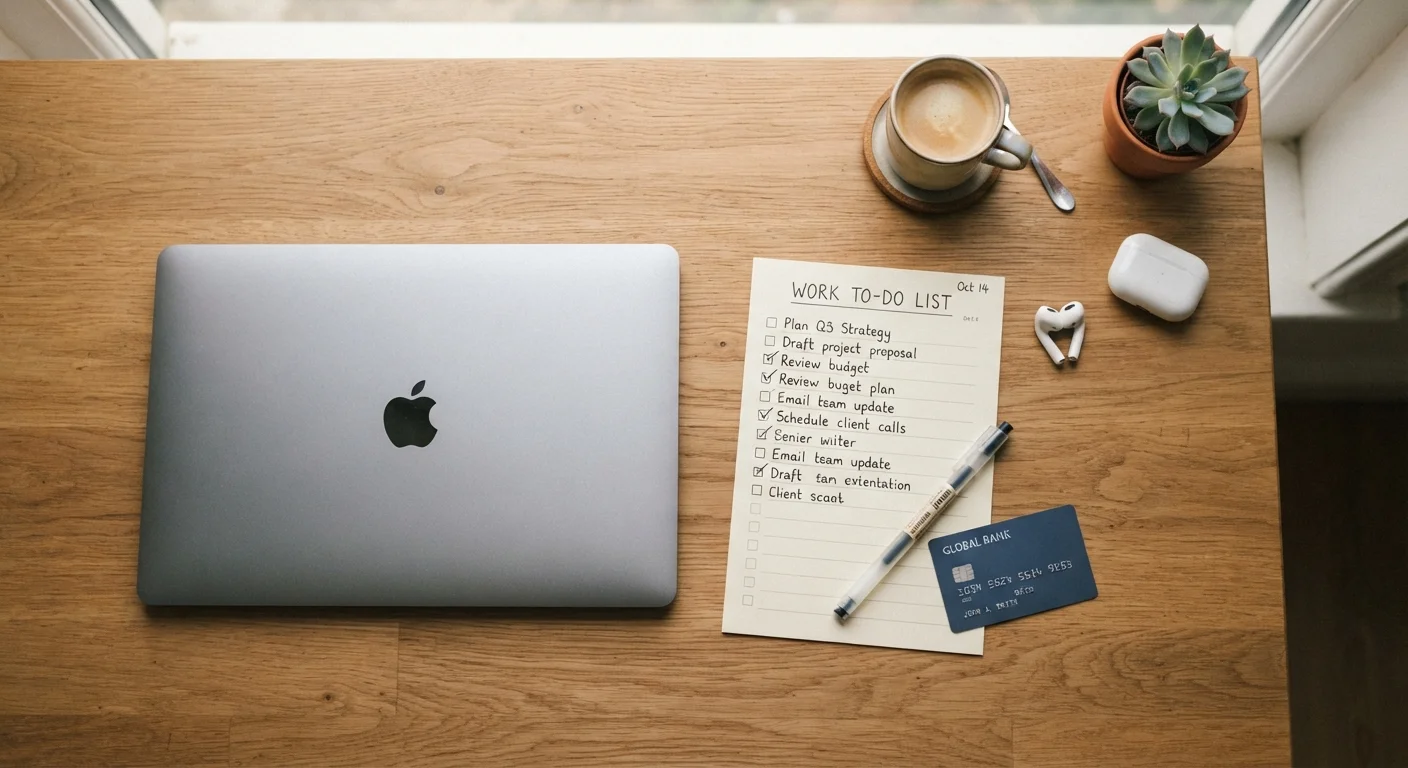
Photo: InsightsVilla.com | Quick Search. Right Info editorial
Key Takeaways
- Open your new account and confirm it works before closing your old one.
- Track every automatic payment and direct deposit linked to your current bank.
- Keep your old account open with a small balance for at least 30 days after switching.
- Update your direct deposit with your employer using a new voided check or deposit slip.
- Download statements and transaction history before your old account closes.
Why Switching Banks Takes More Than One Afternoon
Switching banks sounds simple - open a new account, move your money, done. In practice, most people discover they had more tied to their old account than they realized: autopay subscriptions, direct deposit from work, Zelle contacts, linked apps, even forgotten recurring donations. Miss one, and you could end up with a bounced payment, a late fee, or a service cut off without warning.
This checklist walks you through the full process in the right order. If you're still choosing where to move, our guide to everyday banking basics covers what to look for in a checking or savings account before you commit.
Do This in Phases, Not All at Once
Work through this checklist over one to two weeks - not in a single sitting. Some steps (like waiting for your new direct deposit to land) can't be rushed, and closing your old account too early is the most common mistake people make.
Tools You'll Need
3-4 months of old bank statements
Used to identify every recurring charge, autopay, and linked service tied to your current account.
New account number and routing number
Required to update direct deposit with your employer and re-link any apps or autopay services.
Voided check or direct deposit form from new bank
Most employers require one of these to process a direct deposit change.
Spreadsheet or notepad
Tracking every payment, subscription, and linked account you need to update keeps nothing from slipping through.
Contact info for each biller or payroll department
You'll need to reach each company or employer to update payment details.
The Full Switching Checklist
Use the groups below in order. Each phase builds on the last - don't close your old account until you've confirmed everything in phases one through three is working at your new bank.
Phase 1 - Open and verify your new account
Phase 2 - Map everything tied to your old account
Phase 3 - Switch payments and deposits to the new account
Phase 4 - Wind down and close your old account
Don't Close Your Old Account Too Soon
After the Switch: A Few Things Worth Knowing
Once your old account is closed, request written confirmation - a letter or email - and keep it for your records. Occasionally a stray charge attempts to post to a closed account, and having proof of closure helps you dispute it.
If you opened both a checking and savings account at your new bank, now is a good time to set up a simple structure. Our article on building a simple banking setup explains how to separate spending from saving so each account has a clear job.
Finally, it's worth revisiting which account types actually make sense for your needs. Checking vs. savings accounts serve different purposes - understanding that distinction before you finalize your new setup can save you fees and hassle down the road.
This article is for general informational purposes only and does not constitute financial advice. For guidance specific to your situation, consider speaking with a licensed financial professional.
The content on this site is for informational purposes only and is not a substitute for professional advice. Always consult a qualified professional for guidance specific to your situation.